[Quad] 3. Sign-up & Sign-in
🚨 Major update
I made a significant change to my original plan. Initially, I intended to use only JWT (Bearer Token)–based authentication for all users. However, I decided to integrate Google OAuth authentication to allow users to sign in without storing their credentials on the Quad server.
This decision was made with user trust in mind. I realized that some students might be hesitant to register due to concerns about the security of the Quad server. By using OAuth, users can authenticate via Google, ensuring that their credentials are never directly handled or stored by our backend.
I did not implement a “Sign Up with Google” button on the registration page. Instead, I separated the flow into two distinct endpoints:
- First-time Google OAuth users: After successfully authenticating via
Google, users are redirected to a page where they must set a unique username to complete their account setup. - Returning Google OAuth users: If the user has previously signed up using
Google OAuth, they are redirected directly to the main page, and acookiecontaining theJWTis set on the client side for session management.
🚏 Api Endpoints for Sign-up and Sign-in
To implement complete authentication logic (including OAuth support and email verification), I have created the following server-side API endpoints:
-
Post /api/v1/auth/sign-in
-
Post /api/v1/auth/sign-up
-
Post /api/v1/auth/email-verification
: Sends a verification code to the provided email address.
-
Post /api/v1/auth/confirm-email-verification
: Validates the verification code submitted by the user.
-
Post /api/v1/auth/username-check
: Checks whether the desired username is already in use.
-
Patch /api/v1/auth/change-username
: Updates a user’s username. This is only used for users who sign up via OAuth, as they are initially assigned a default username. This endpoint allows them to set a custom, unique username.
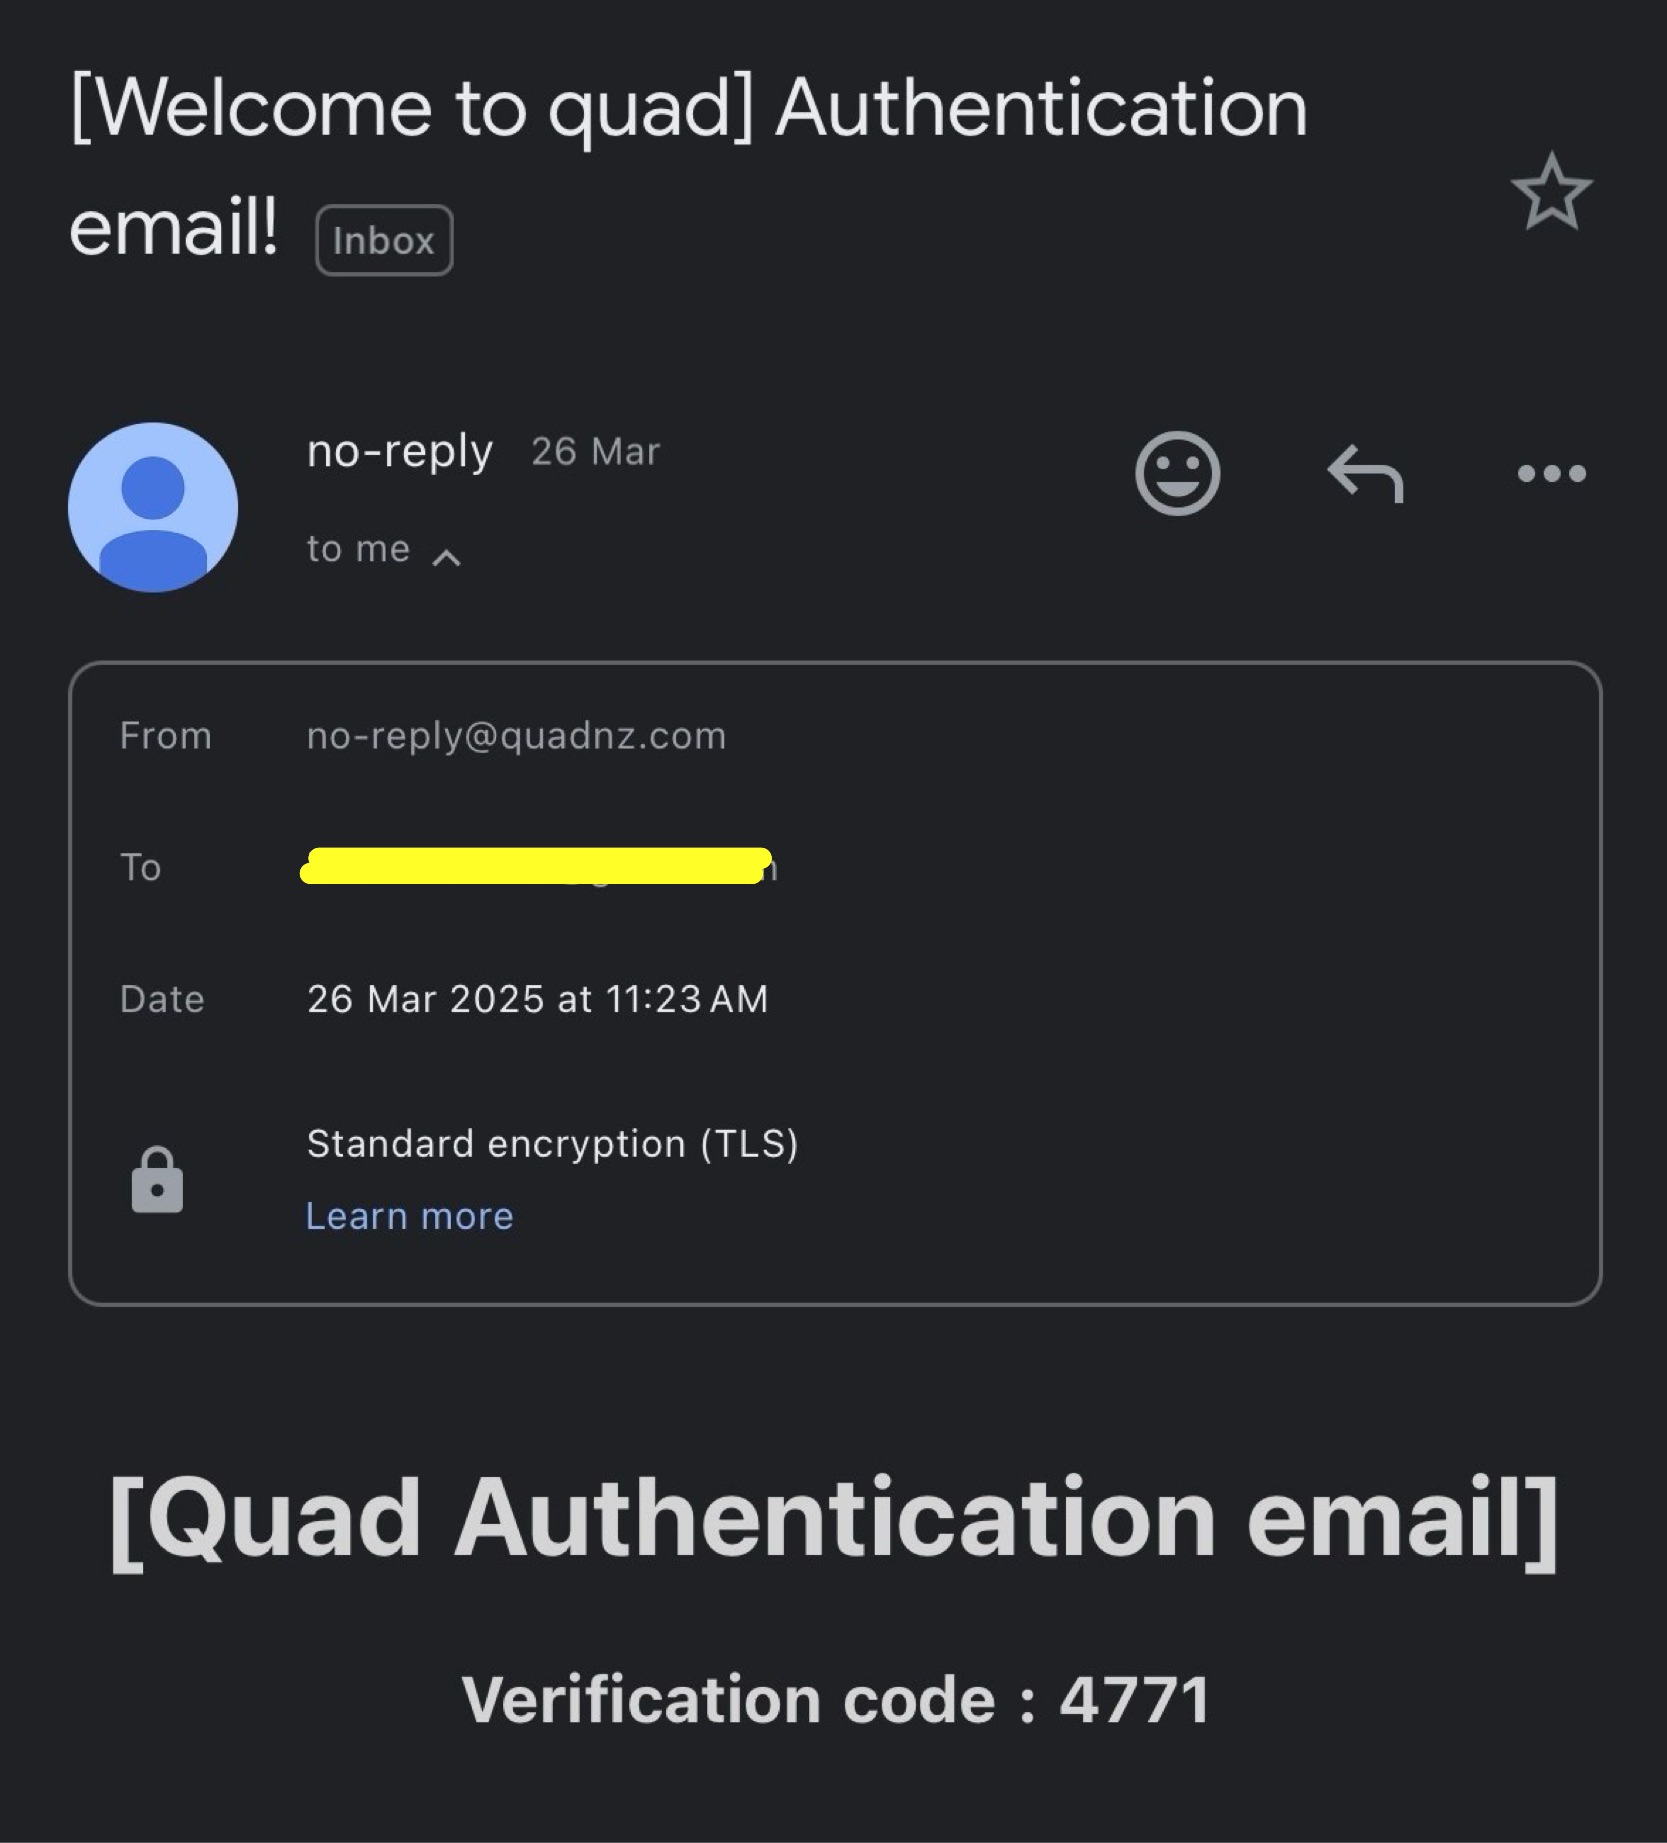
🎰 Email verification code
I recently purchased the domain quadnz.com to set up a custom enterprise Google email for my project. As part of the user sign-up process, I needed an email address to send verification codes. I decided to use the standard naming convention and created:
no-reply@quadnz.com
🏠 Sign-up and Sign-in pages
Sign-up and Sign-in is implemented with 4 pages.
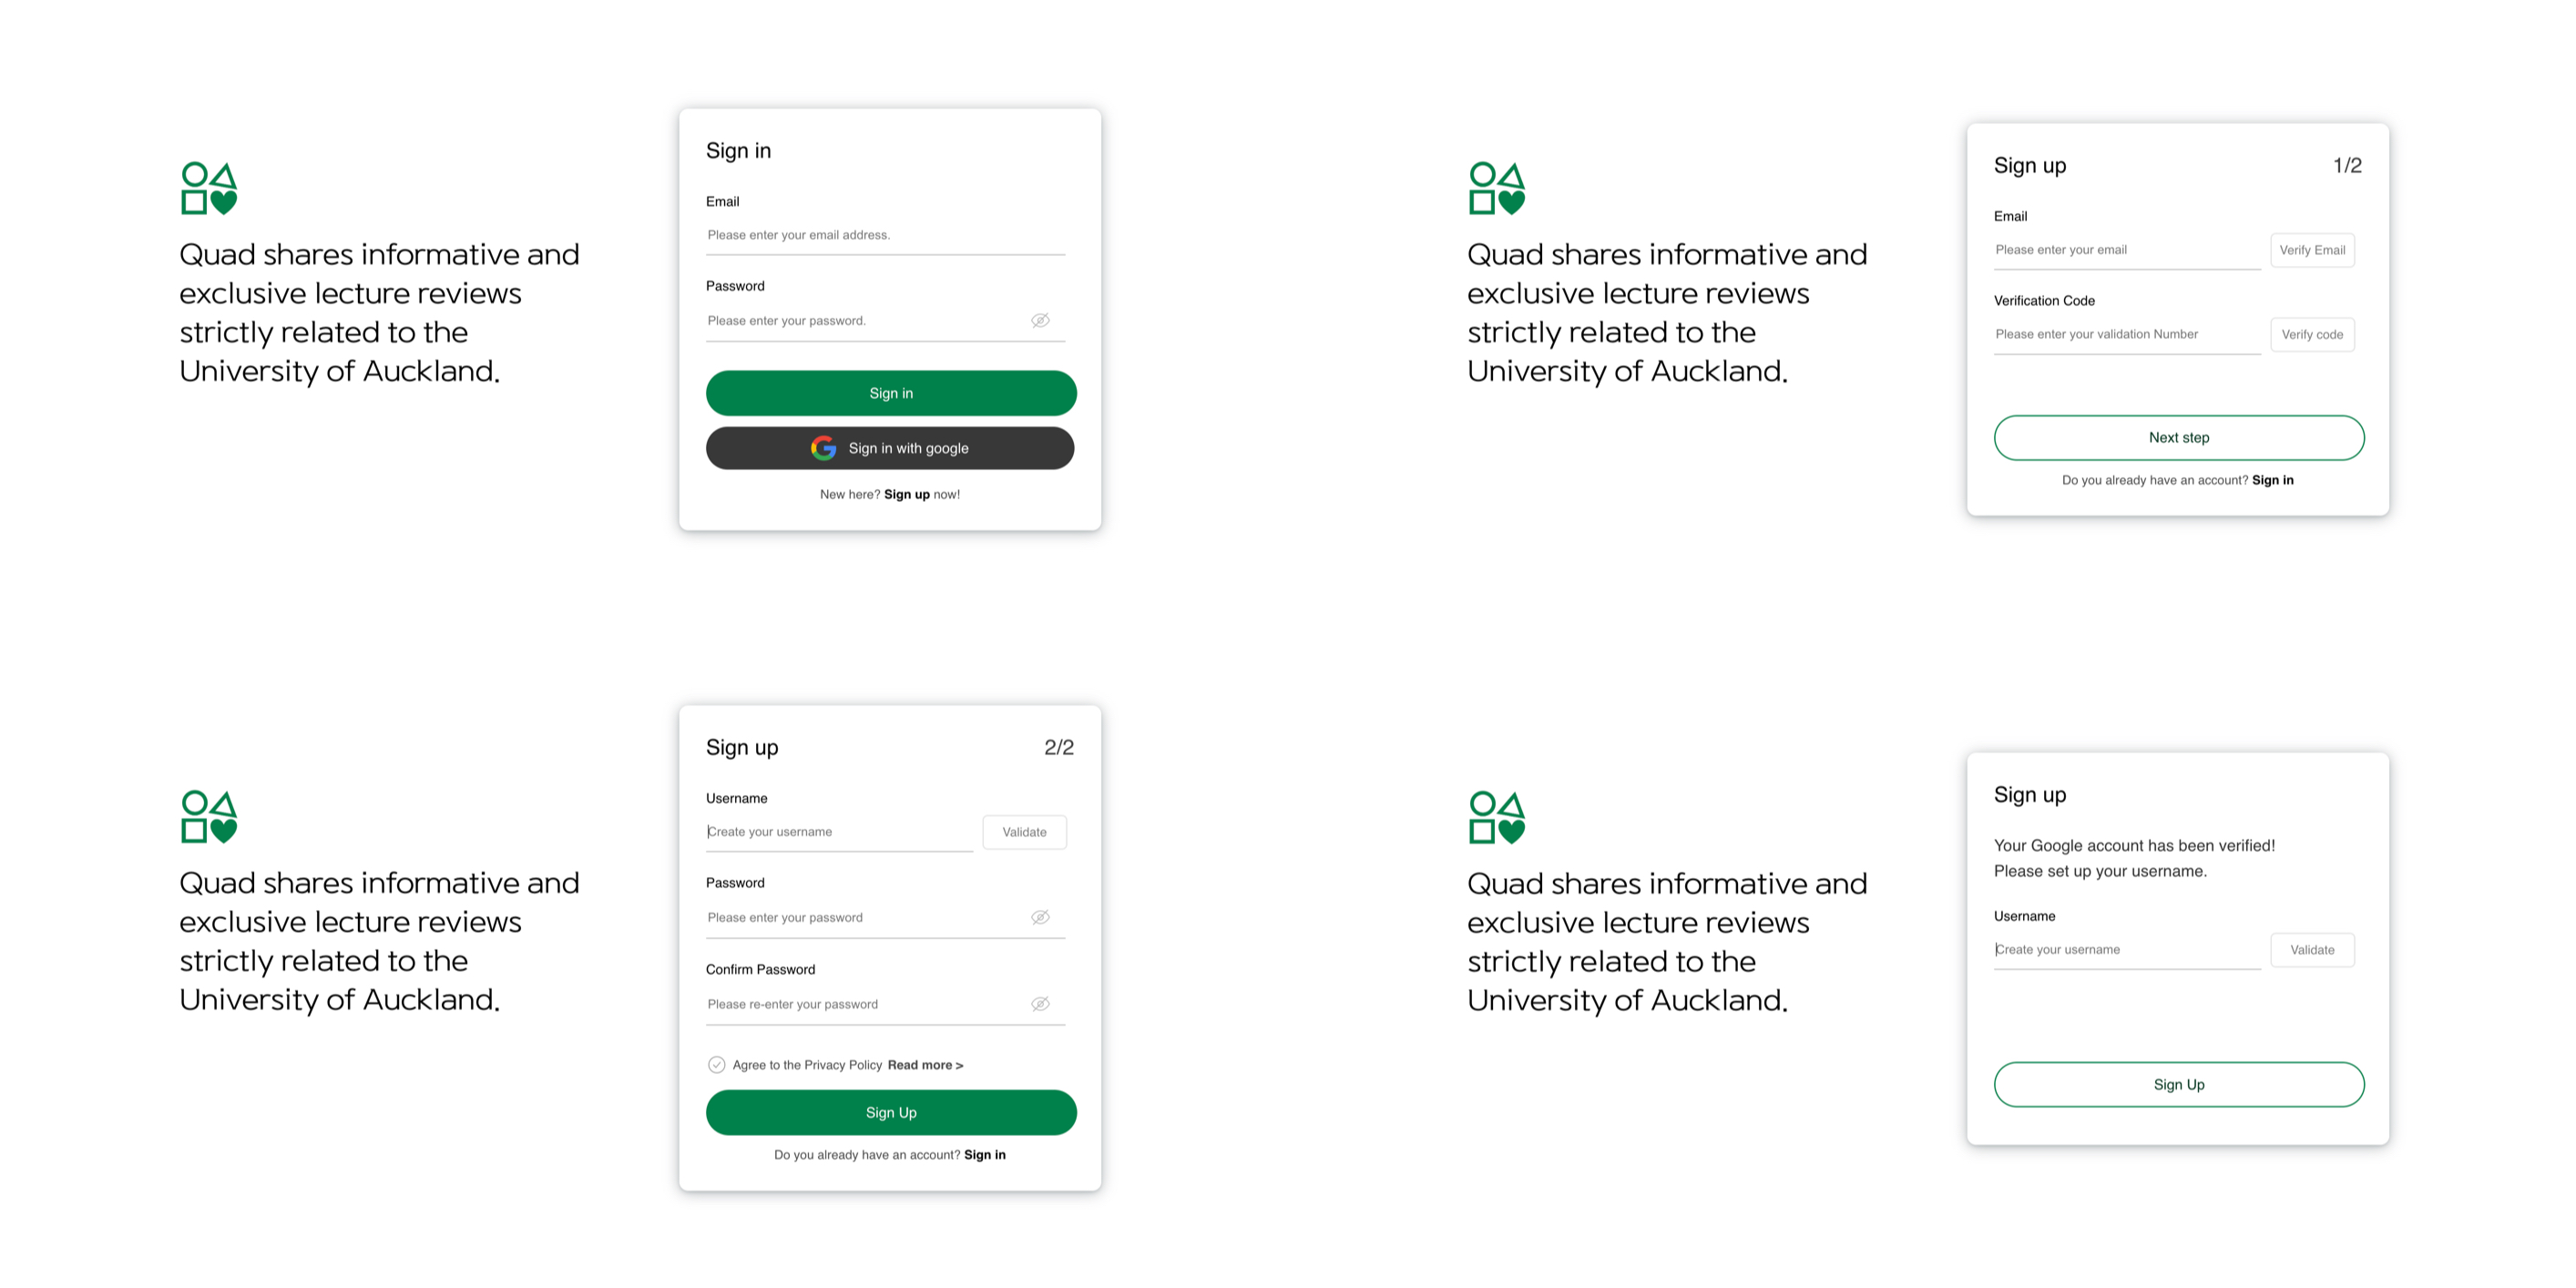
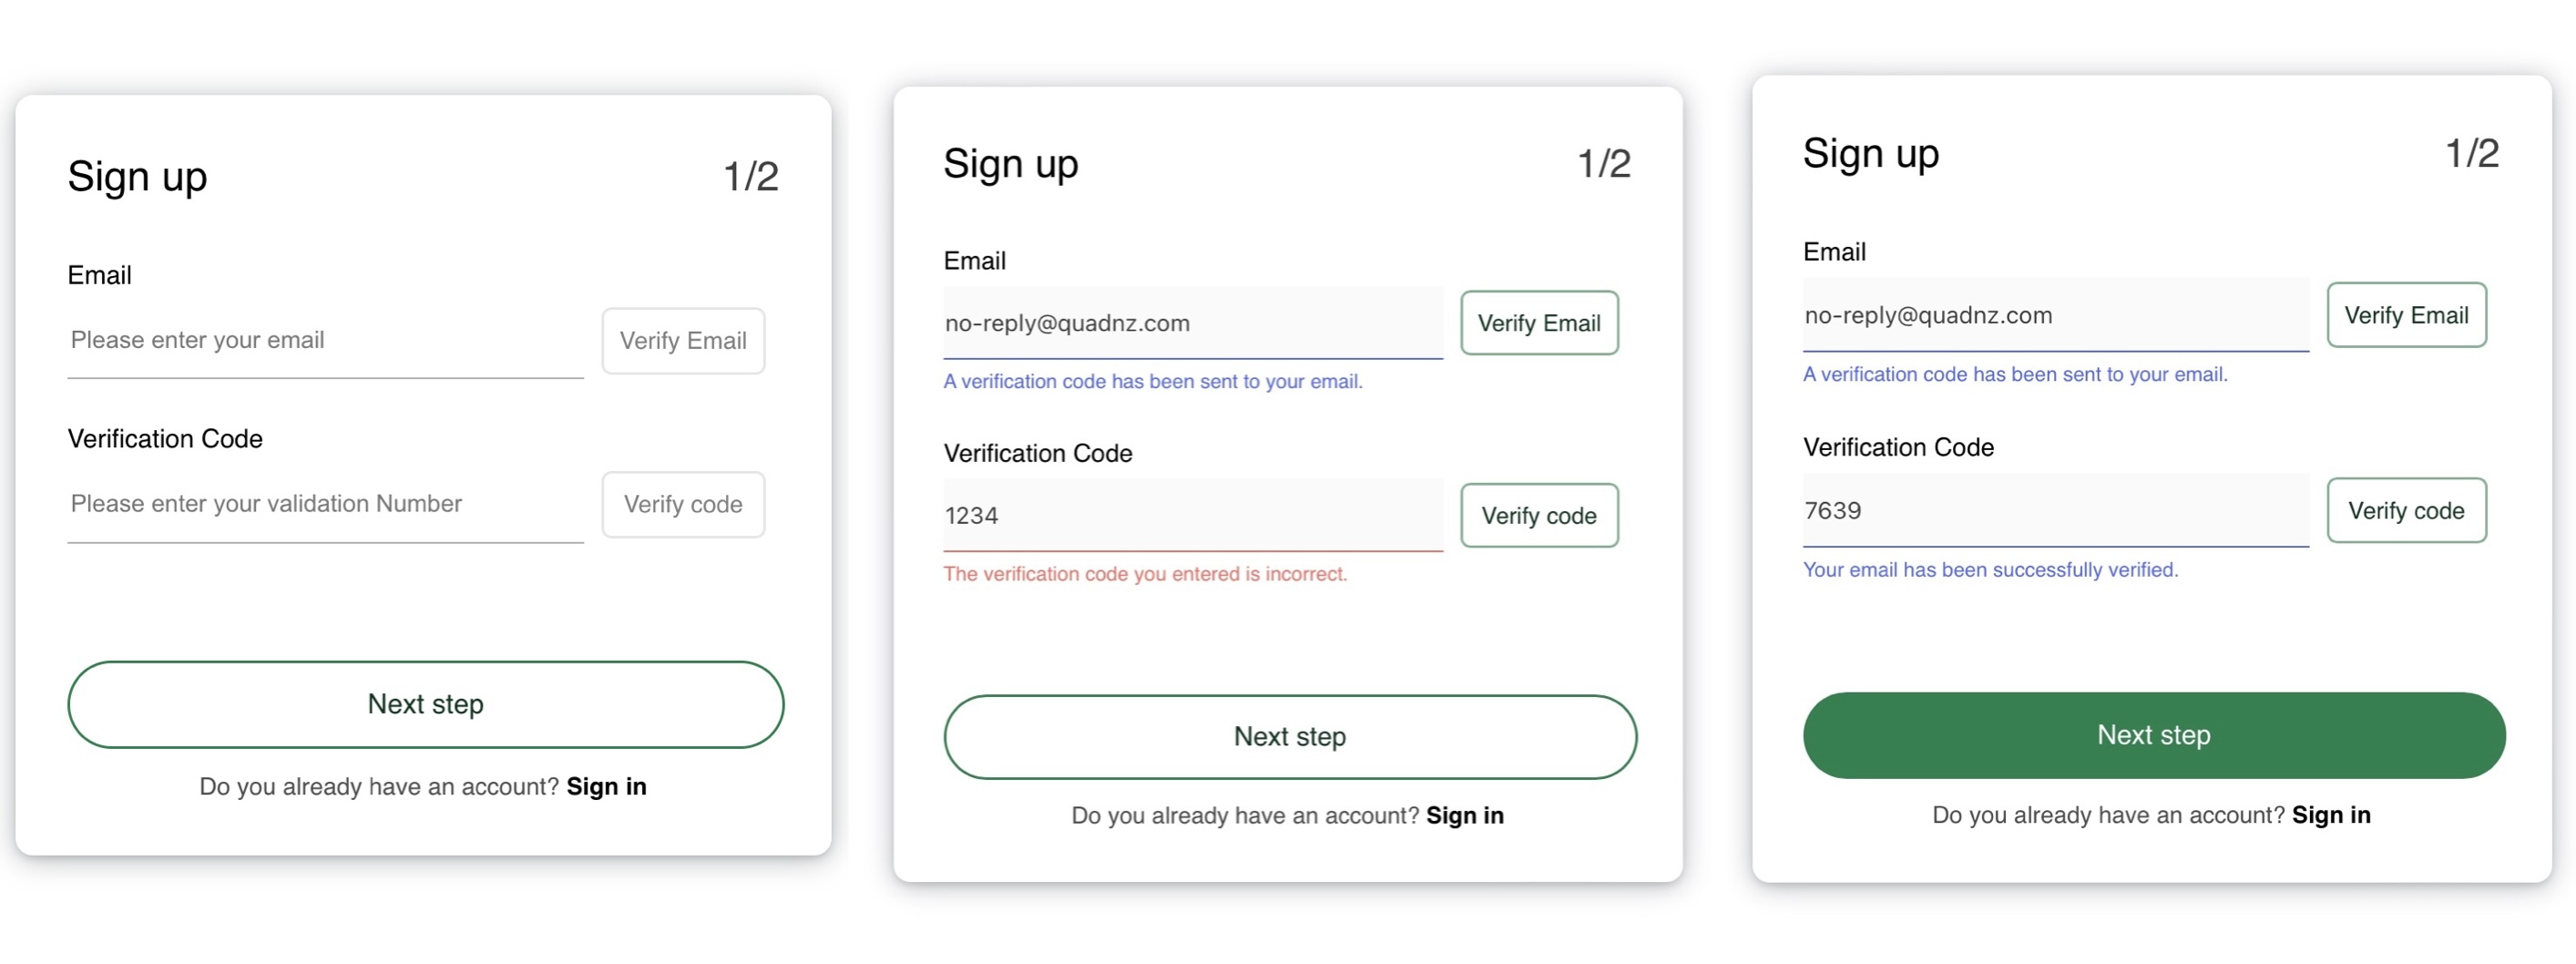
As users enter input or verification codes, buttons gradually light up to guide their actions. Blue text indicates success, while red text is used for error messages.
When a user signs in with Google (OAuth) for the first time, they are redirected to a page where they need to set their username. Technically, they already have a default username assigned during sign-up, so this step is actually about changing the default username to a custom one.

Conclusion
This time I worked hard to implement Google OAuth, and honestly—it was a lot of fun. Seeing my site evolve and finally start to feel like a “proper website” was incredibly satisfying.
Moreover, implementing sign-up and sign-in also gave me a chance to think more deeply about user experience (UX). I put a lot of effort into making the sign-up flow feel smooth and intuitive. I didn’t want users to get bored or confused and leave halfway through the process. That’s why I designed the buttons to gradually light up as users interact with the form.
Next up: I’ll be working on the main page. There’s a lot more to do there. I’m planning to build a header, a sidebar, a trending reviews , recent reviews, and possibly even a review chart to visualize some data.
Leave a comment